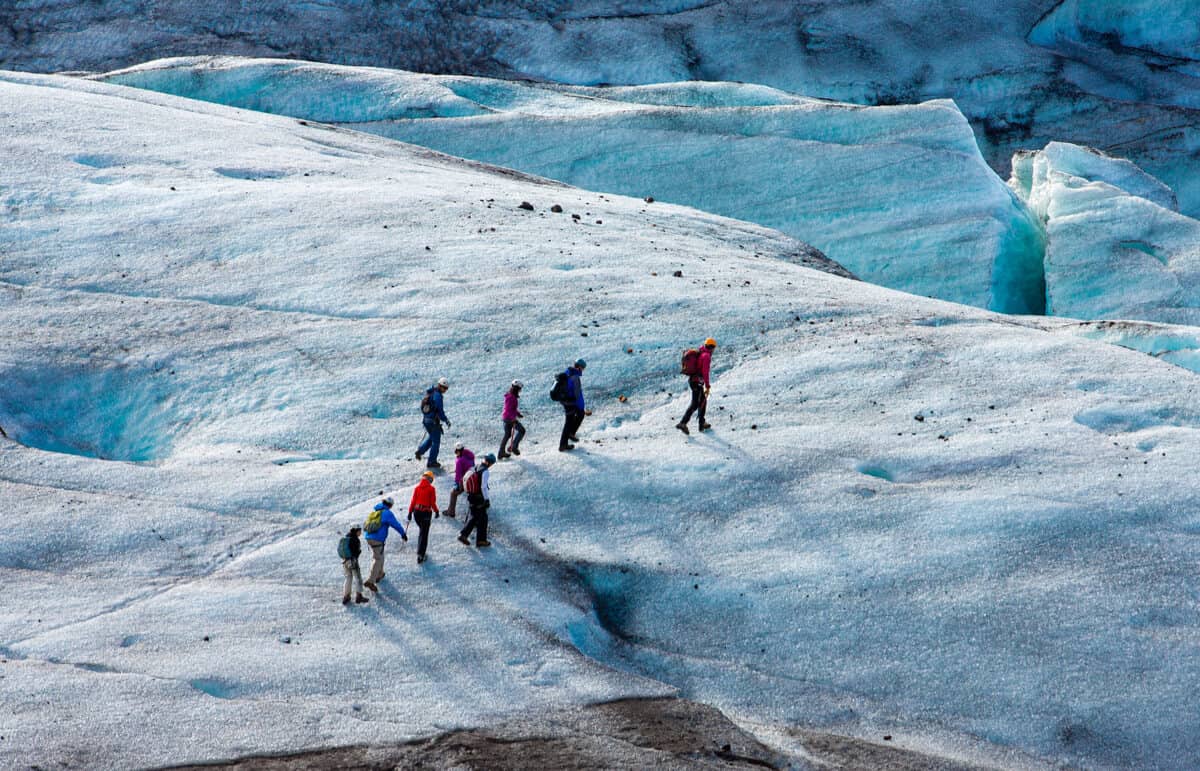
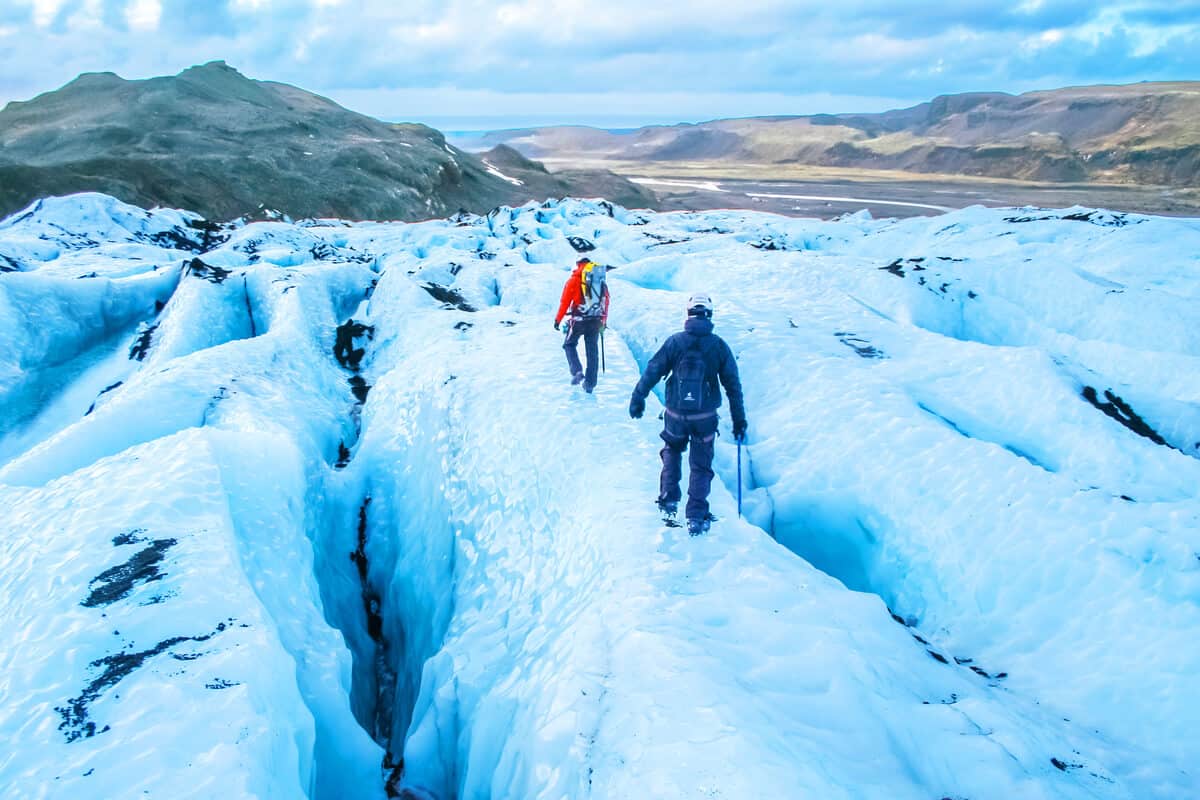
Iceland is no longer an “unknown destination” for many. The tourism industry has slowly developed and thrust Iceland into the spotlight. The number of visitors is increasing every year, and most of them are attracted by Iceland’s raw nature. A whole world of possibilities is available for all kind of visitors. Probably one of the most extraordinary experiences one can have is a glacier hike. It is not like icecaps can be found anywhere around the globe. So this experience is one of a kind and maybe, one in a lifetime. To enjoy it properly, we need to learn some basics on how to prepare for your Iceland glacier hike.

Nature lovers choose this Nordic nation because of its marvelous nature. Iceland holds a lot of wild, untouched and well-protected territory. The whimsical landscapes, steep mountains, and deep valleys are the consequence of millions of years of volcanic activity. But fire and fury are not the only leading figures here. So is ice and its calmness. The intensity and severity of the natural forces that lie underneath the island give way to the tranquility of a spotless, giant mass of ice like Langjökull, Vatnajökull, or Skaftafell. They might be quiet and still, but glaciers are a beautiful reminder of our ever-changing world. Nowadays, anyone can hike on a glacier in Iceland, but do you know how they formed?
Preparing For Your Iceland Glacier Hike – How Glaciers are Formed
Glaciers are most common in the polar regions of planet earth. Glacial masses form in areas where snow accumulates over time. As the height of the gathered snow grows, so does its weight. The pressure of the top level of snow ends up compacting the lower layers, creating ice. This doesn’t happen overnight. It can take decades or even centuries for glaciers to form.
Something that blows my mind is the fact that glaciers are somewhat “alive.” We all think of ice as a hard, compact material. Unless it melts, it usually stays trapped on the very same spot it was created. This applies to the ice on our freezer walls, which is why no-frost models were created. But the same principle does not apply to glaciers.
Glaciers are like frozen rivers; they keep moving. The weight of the accumulated ice plus the forces of gravity keep pushing the glacier downwards. It happens very slowly. But in a year, a glacier can invade a whole area and radically change its appearance. They are so powerful that they can even push mountains around and shift coastlines! That is a very important fact to know if you are interested in glacier hiking. Let’s discover why.
Iceland Glacier Hike Preparation – Basic Safety Guidelines
Glaciers are beautiful. The astonishing feeling you get when walking on them. Climbing up to the top and viewing the scenery is indescribable. I’m not going to lie; I cried the first time I hiked on one. It was a mix of emotions. The overwhelming beauty of it combined with how exhausted I felt when I reached the top created quite a moving experience.
I am well aware I could not have been able to achieve that if I were not accompanied by expert guides. There are excursions available for everybody, even for couch potatoes like me. There are different difficulty levels, and the guide will adapt to your own rhythm. I must point out that it does not matter if you are used to climbing or doing many physical activities back home. You definitely need an expert to come along with you.
As we mentioned before, glaciers are constantly moving. You might not feel it or notice it, but they are. That means conditions of the ice, caves and hardness change daily. Nothing is really what it seems on glacial masses. Experts not only guide people during their hike. They also check the area every day. They inspect the ice, trace safe routes, consult the weather forecast and everything else that is necessary to have an enjoyable experience. Please, do not try to hike glaciers in Iceland on your own. It can be very dangerous, even life-threatening.

Get Prepared for Your Iceland Glacier Hike – Commonly-Used Equipment
You don’t have to worry about the equipment as it is usually provided by the tour company or tour operator. But I will mention some basics so you can get an idea of the equipment used and what it is for.
Harness
A safety harness is designed to protect you. It can work as an anchor and keep you safely in place.
Ice Axe
You will be crossing some slopes. Ice axes help the hiker to move more easily. The support and stability it provides give you an extra point of contact on the snow. Also, in the case of sliding, it will prevent you from falling deeper into a crevice.
Crampons
Walking on slippery ice with your everyday boots are not a good idea. You need extra grip, and that is what crampons are for. Your guide will make sure the crampon is the right size for your boots. When stepping into the snow, they will dig into the surface providing extra stability and security.
Helmet
In case you fall or slide, a helmet will protect you from hitting your head extremely hard or badly injuring yourself.

What Clothes You Should Wear For Your Iceland Glacier Hike?
Wearing the right clothes in Iceland is very important. The same applies to glacier hiking. As a rough guideline, waterproof and windbreaker items of clothing are a must. You will be in constant contact with the ice, some snow, water from melting ice, so the chances of getting wet are high. Being soaked in cold weather and chilled to the bone don’t sound so great, right?
Now, I think it is important to mention that when doing this type of activity, layers are more important than ever. Don’t over cover yourself or bundle up like an onion. Quality layers are more important than quantity. Bring a warm, thermal shirt and a high-quality jacket. That will suffice. And if your jacket can be unzipped, all the better. I would not recommend more than that. It will be cold at the beginning of the activity, but once you get moving and spring into action, your body temperature will rise. You will feel very hot and sweaty. If you have tons of layers, you will need to take them off so you don’t feel like suffocating. Looking like a clothes-drying rack is not very on-trend when it comes to a climbing experience!
I also recommend bringing high rise hiking boots. If your boots don’t cover your ankles, crampons can hurt a bit. You can still hike with those, but it can be a bit uncomfortable.
Do not forget waterproof gloves. You will be walking through some cool ice walls, and when climbing, you instinctively put your hands on the ice chunks. And yes, they are cold. Wearing warm, waterproof gloves will allow you to touch and get a grip on the ice chunks, but at the same time, your hands will stay warm and dry.
How to Prepare For Your Iceland Glacier Hike
Those are the basics for an Iceland glacier hike. Don’t worry if you feel like you can’t do it because you are not fit. As I mentioned previously, some tours work for everybody. If you can walk for at least 1 hour on uneven surfaces, then you can join a tour.
Listen carefully to your guide’s instructions on how to walk on the glacier and how to use the provided equipment. Do not try to walk on your own, just follow the path and your guide. There are many cracks and holes you are unable to see due to changes in the gradient and surface. Guides are aware of them, but you are not.
Enjoy the beauty of stepping into millions of years of earth’s history. The landscapes and the views from the heights will take your breath away. That is for sure an unforgettable experience.


